
Tuesday, May 31, 2011
Friday, May 27, 2011


Thursday, May 26, 2011

Wednesday, May 25, 2011
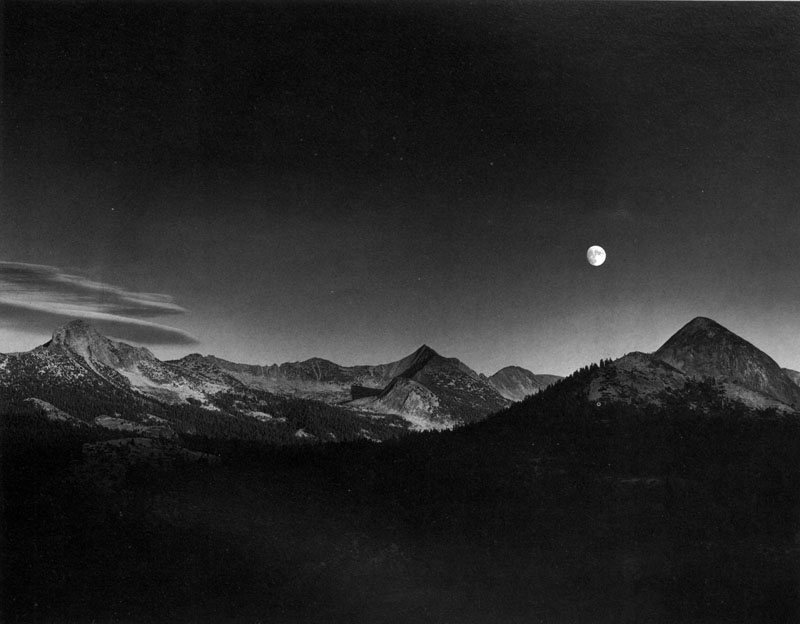
12- Zone System

Although calculations for the zone system were originally based on black and white sheet film, the Zone System is also applicable to roll film, both black and white and color, negative and reversal, and even to digital photography.
The Zone System’s Key Concepts
The zone system divides a scene into 10 zones on the tonal scale (though there are variations of 9 and 11 zones). Every tonal range is assigned a zone. Every zone differs from the one before it by 1 stop, and from the one following it by 1 stop. So every zone change equals 1 stop difference. Zones are identified by roman numbers, with the middle tone (with 18% reflectance) being a zone V which is zone 5.
Photographers, usually are only concerned with zones III through VII (zones 3 through 7). The darkest part of a scene would fall into zone III, while the brightest part of a scene would fall into zone VII. Anything darker than zone III would render as pure black with no detail (under-exposed), while anything brighter than zone VII would render as pure white with no detail (over-exposed).
If you point your camera at an area with average reflectance and obtain the correct meter readings (a zero on the light meter), that area would be rendered as average. If you open up your lens or slow down your shutter speed by one stop, that area will become over-exposed by one stop. If you close down your lens or increase your shutter speed by one stop, that area will become under-exposed by one stop.
Now, we’ve agreed that an average tone is naturally placed into zone V. If you over-expose it by one stop, you’ll be placing it in zone VI (zone 6), causing it to render brighter than it actually is. If you under-expose it by one stop, you’ll be placing it in zone IV (zone 4) causing it to render darker than it actually is.
--------------------------------------------------------------------------------
The Zone System is a photographic technique for determining optimal film exposure and development, formulated by Ansel Adams and Fred Archer in 1939–1940. The technique is based on the late 19th century sensitometry studies of Hurter and Driffield. The Zone System provides photographers with a systematic method of precisely defining the relationship between the way they visualize the photographic subject and the final results.

0-I-II-III-IV-V-VI-VII-VIII-IX
Zone Scale
0 Pure black
I Near black, with slight tonality but no texture
II Textured black; the darkest part of the image in which slight detail is recorded
III Average dark materials and low values showing adequate texture
IV Average dark foliage, dark stone, or landscape shadows
V Middle gray: clear north sky; dark skin, average weathered wood
VI Average Caucasian skin; light stone; shadows on snow in sunlit landscapes
VII Very light skin; shadows in snow with acute side lighting
VIII Lightest tone with texture: textured snow
IX Slight tone without texture; glaring snow
X Pure white: light sources and specular reflections
The relationship between the physical scene and the print is established by characteristics of the negative and the print. Exposure and development of the negative are usually determined so that a properly exposed negative will yield an acceptable print on a specific photographic paper.
Subscribe to:
Posts (Atom)