About

Thursday, November 10, 2011

Photo 12- Bubbles!!!

Principles of Design  ……………………………

Balance, Contrast, Emphasis, Movement, Pattern, Repetition, Rhythm, Unity/Harmony.

Photograph a simple subject with a variety of backgrounds, angles, lighting and distances using principles of design.

What to do ………………………………………

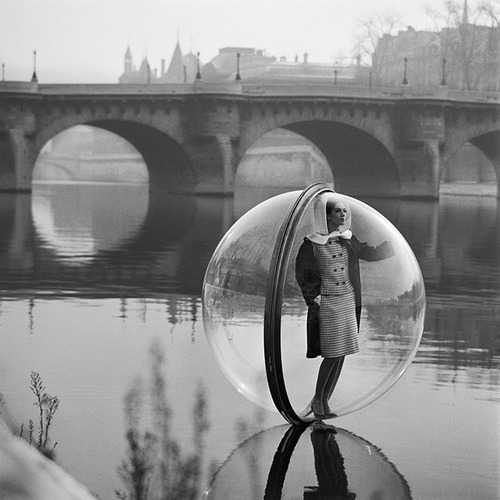
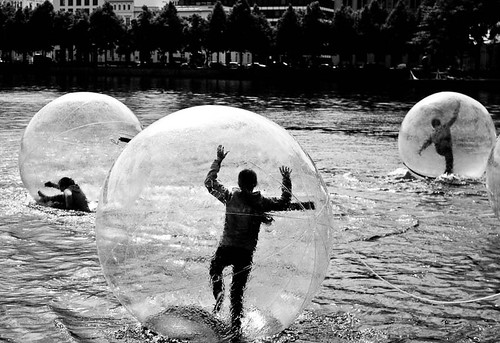
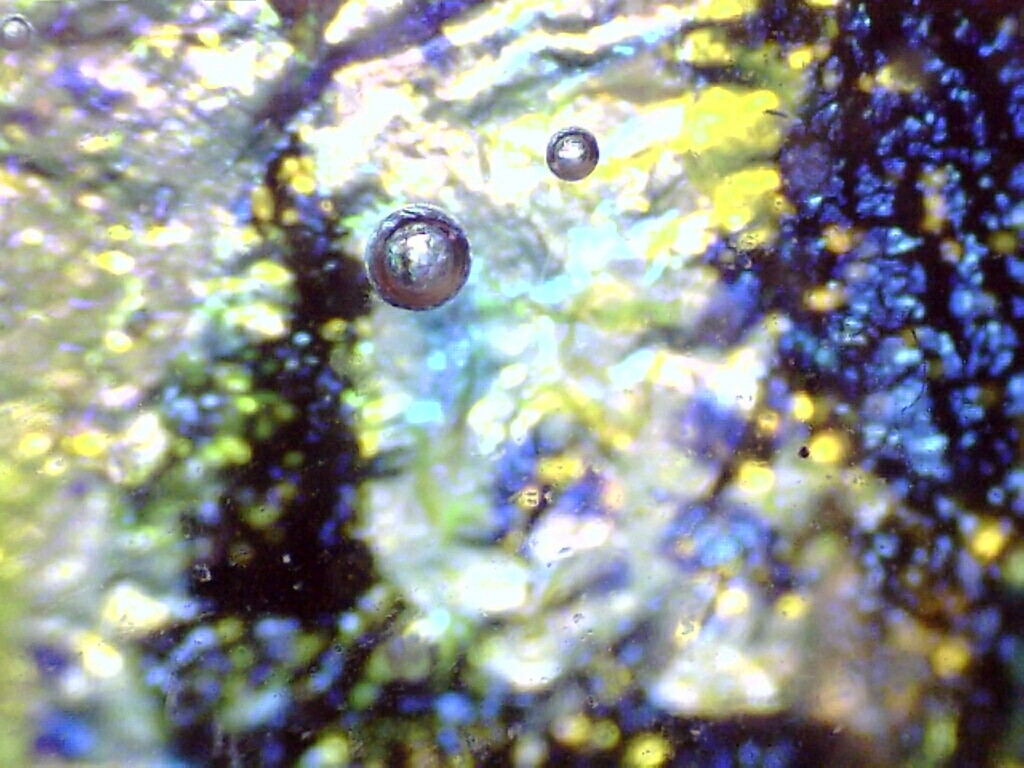
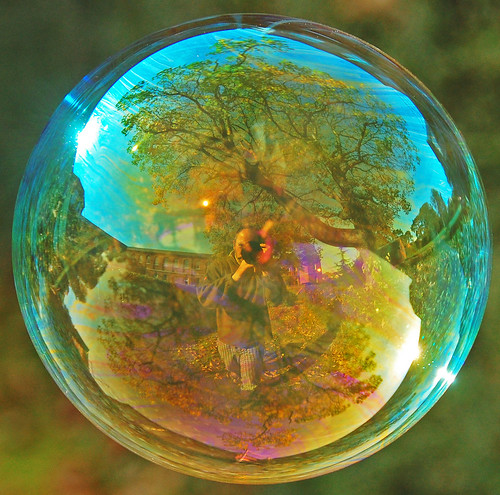
Bubbles- a simple subject packed with potential symbolism. You are to take your Bubbles and your camera everywhere. Construct and design frames using the principles of design placing your bubbles in different scenarios each time. Use the Principles of Design definitions from your work sheet as your guide and incorporate a least one of each principal into your series. Really push the boundaries, meaning, and visual concept.
Take some wild and crazy photos, choose digital or both digital and B/W film. Experiment with lighting, back and front, colour balance (digital) and filters or filter effects.

Make 2 + contact sheets, five- working prints for your PhotoDiary, and one 8 x 10 of your best for your porfolio. We will have a critique on the due date. Post best image on the “Lunatic Fringe”.

Evaluation
…………………………………………………….
Each print will be out of 5 marks, part marks will be awarded for the following:
1. Composition with clear use of design principles.
2. Technical exposure and appropriate use of depth of field and shutter speed.
3. Darkroom/Photoshop proficiency (not too much contrast, not too little).
4. Originality.
5. Professional presentation.

Wednesday, November 9, 2011

Photo11 Thrift Item Story Project

Thrift Item

Emphasis, Story Telling & Depth of Field

Photograph a simple subject with a variety of backgrounds, angles, lighting and distances while concentrating on depth of field and composition techniques to tell a visual story about the item.
1st find an item that really interests you, but it must be a tired object that has been tossed for someone else to re-purpose, or something that your family are near to put one the corner with a "Free" sign. You will be taking your thrift item and your camera everywhere, so make sure you are really committed to it. You are to experiment with composition emphasis techniques and different depth of field techniques- short, medium, long and to create a story about your item. Find, construct, and design frames using the composition techniques placing your thrift item in different scenarios to tell your object’s story visually.
What to do……………………………………………………

Find an object, or go thrift shopping. Go out on your own, take wild and crazy photos, on B/W film or digital. Make contact sheets, 5- working prints for your photodiary, and one 8 x 10 of your best image. We will have a critique on the due date…


11 Thrift Item Project Introduction


Ikea lamp commercial from Rob Sbaglia on Vimeo.

Explore composition and visual story telling in the Ikea Lamp Commercial. Today as a class me are going to isolate and identify effective compositional techniques used in the video to tell a story. Try to find the following emphasis techniques in the commercial: Leading Lines, Repetition, Framing, Rules of Thirds, Contrast.

The Aperture

Depth of Field Site
Digital Photo School

Assignment- Experiment with your aperture (Av aperture priority) for your next Random Roll. Take short, medium and lond depth of field photos for each of your topics. Print a contact sheet and put one in your photodiary.

Define the following, put in your blog/journal:
  1. Depth of Field
  2. How to Control Depth of Field
  3. Aperture/F-stop
  4. ASA/ISO/Film Speed
  5. Exposure Triangle
Find examples for your journal label each image and guess the aperture settings used on the camera.
Let's try these together...


Thursday, November 3, 2011

Night Photography

Night Shutter Assignment
  1. Still Photo with Street Lights- Camera, tripod/steady low shutter speed, low aperture, higher ISO
  2. Still Photo of Street Light with Star Effect (f-16 or higher)- Camera, tripod/steady even lower shutter speed, high aperture, higher ISO.
  3. Moving Lights/ Camera Still- Camera, tripod/steady low shutter speed, low aperture, higher ISO
  4. Moving Camera with Lights- Camera low shutter speed, low aperture, higher ISO
  5. Painting with Light- Flashlight, Tripod, Camera- Manual, Shutter Speed set to “B” setting. Draw with light. Aperture approx f5.6.
  6. Multiple Exposure 1- Flash, Tripod, Camera- Manual. Shutter Speed B Setting Flash. Flash subject and then have subject move and flash them again repeat as long as you want… Aperture- f 11 or higher.
  7. Multiple Exposure 2 with Painting with Light- Flash, Tripod, Flash Light, Camera- Manual. Shutter Speed B Setting Flash. Flash subject and then have subject move and flash them again repeat as long as you want… Aperture- f 11 or higher.
  8. Slow Blur- Tripod, Camera- Manual. Shutter Speed B Setting Have subject move slowly through the frame with a low light pointed towards them… Aperture- f 11 or higher.
  9. Slow Blur with Freeze Frame- Tripod, Camera- Manual. Shutter Speed B Setting Have subject move slowly through the frame with a low light pointed towards them, but this time, stop partway through the frame and then continue… Aperture- f 11 or higher.
  10. Experiment 
Assignment

  • Find 5 images that exemplify some of the effects from this list post in your jounal.
  • Try at least five of the listed experiments. Take three or four exposures of each.
  • Print a contact sheet- label effects, make sure the exposures are not too dark or light.
  • Put images best image in your PhotoDiary and on Ning site.

Photoshoppin' with a Green Screen image

Here is a tutorial for Green Screen editing in Photoshop.
Green Screen

Today we are going to edit three or four Halloween portraits with Halloween-ish backgrounds using Adobe Photoshop. We will go through the tutorial together with one image and then you can  try two or three on your own. Good luck. Cameron will help you...